Setting Up a Webdev Environment on Windows
Developing on OSX is a dream. I love my Macbook and I love developing on it. However, I’ve always been a PC enthusiast and most of my time is spent on my desktop computer. I stick with Windows as my main operating system when I’m not developing because Linux offers a subpar gaming experience, and my entire music library resides on iTunes, which is not supported on Linux. I have happily turned this computer into a Hackintosh before for a few months when I started out web development, but rather than dual-boot into Linux/OSX, I decided to give virtualization a try.
Why use VMs?
Simply put, my Windows machine completely outclasses my Macbook. The screen real estate and dedicated mouse/keyboard really speeds up my development. Futhermore, as a formal avid gamer, I’ve grown very accustomed to Windows and I just prefer to use it as my main OS. Dual booting is a completely viable option, save for the fact that I would have to boot back into Windows to play a game or listen to my music. I already have OSX on my Macbook in case I want to have a dedicated environment, so spinning up a VM seems to be a great choice for my development needs.
Vagrant and Virtualbox
Vagrant and VirtualBox are AMAZING. Everyone claims it takes minutes to set up an environment and get started right away with development. It took me about 2 hours because I had no idea what I was doing and couldn’t find a clear guide to set everything up. Plus a virtual environment has some slight kinks to work out versus using a dedicated OS.
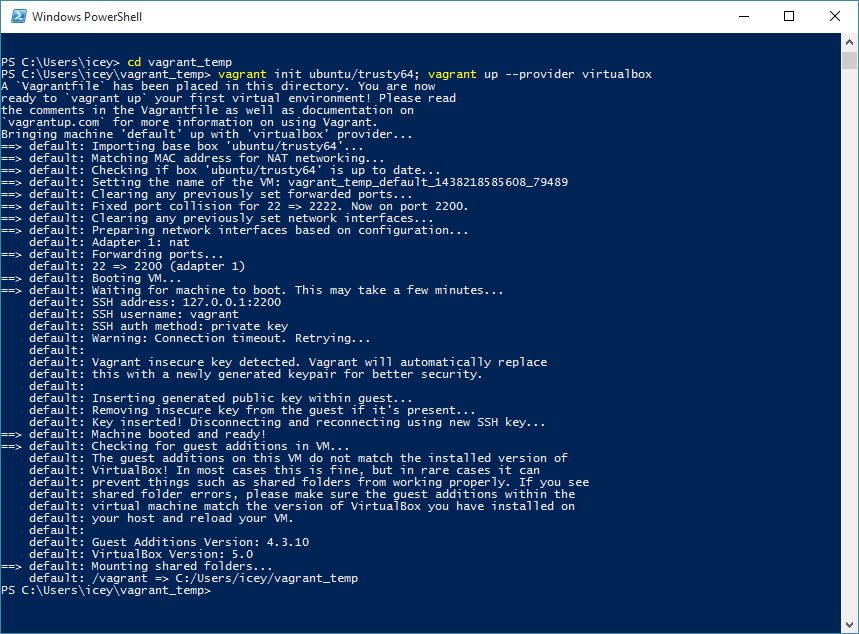
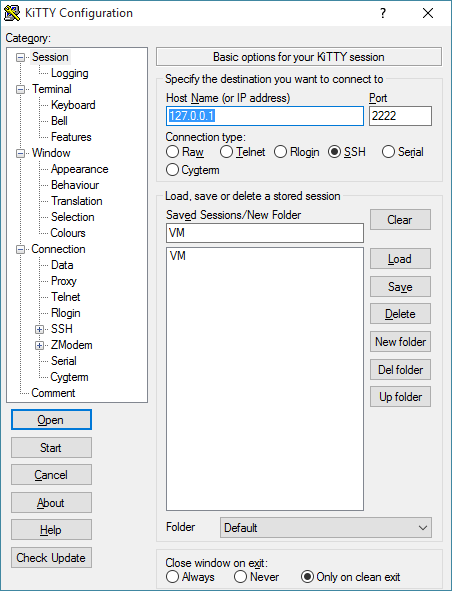
Getting started is pretty simple. You’ll need to install Vagrant, VirtualBox, and I personally prefer to use MTPuTTY to SSH into my virtual machine. MTPuTTY is a GUI for PuTTY that allows for multiple tabs and automated login. Once you have everything installed, a whole list of Vagrant boxes can be found here. I decided to install the ubuntu/trusty64 box:
vagrant init ubuntu/trusty64; vagrant up --provider virtualbox
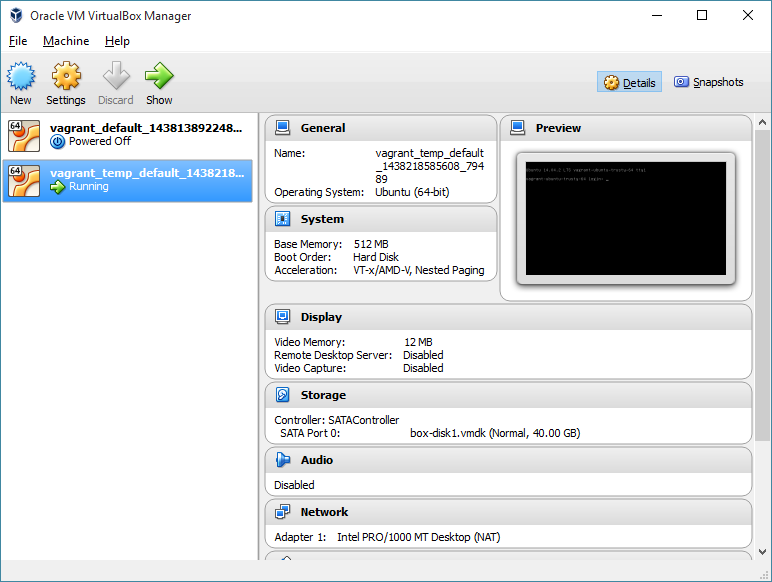
Here you can see my server running in VirtualBox.
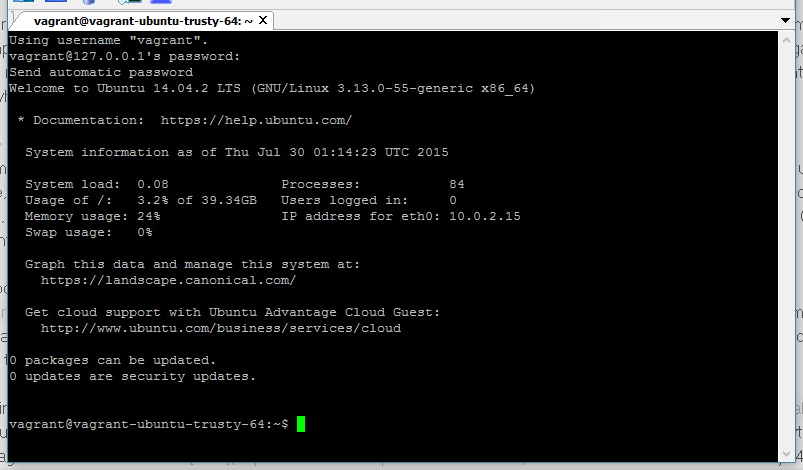
Your server should now be running! To shut down your server, you can run “vagrant halt” in PowerShell/cmd, and “vagrant up” to run it again. You can SSH into your virtual box using PuTTY with hostname 127.0.0.1 and port 2222. Username/password is vagrant/vagrant.
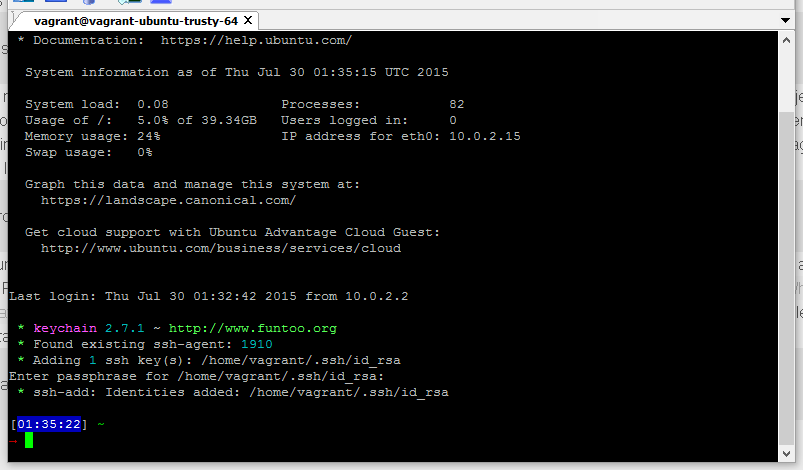
Perfect! We’re now in our environment:
It was really that easy. We now have a clean environment to work in. There’s a few hurdles I had to go through to get my environment functioning exactly the way I want to. First I wanted to set up a shared folder. Simply go to the folder you ran “vagrant init” in and open up Vagrantfile. Uncomment and alter this line to:
config.vm.synced_folder "shared", "/home/vagrant/shared"
Now if you create a folder named “shared” you will now have shared access between your host and guest machines. That way whatever projects you’re working on can be opened locally using Sublime/Atom on your Windows machine can be worked on directly in that folder. You can then use PuTTY to run commands in your VirtualBox environment. Next, to test your application you’d need to forward some ports. In my Vagrantfile again, uncomment and alter this line to:
config.vm.network "forwarded_port", guest: 3000, host: 3000
This way port 3000 on your guest machine will be forwarded to port 3000 on your host machine and you can locally use your web browser to access your application on that URL. Perfect! Next, configuring the VM to work properly with git. Simply follow the instructions on this article to set up SSH keys. Afterwards, add this to your ~/.profile (Ubuntu uses this instead of bash_profile) to only log in once per box startup. You can look up SSH forwarding if you wish to bypass this and automatically log in.
eval `keychain --eval id_rsa`

Now you only have to log in once per startup. Not bad. Now your dev environment is all set up. Just one more note with npm and Vagrant. By default symlinks are disabled to avoid creating symlinks across your VM into your host computer. You can choose to look up enabling symlinks on Vagrant because npm install will give you an error.
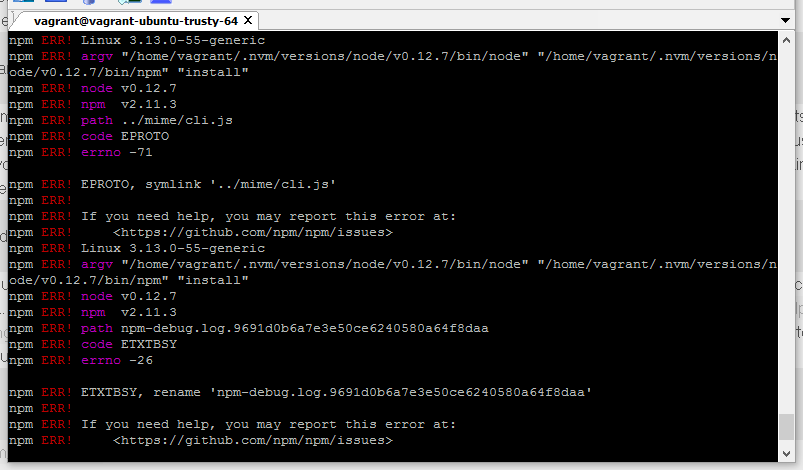
Alternatively you can run “npm install –no-bin-links” and your packages will install properly. So far I don’t have any problems since I’ve set this up yesterday with my current project using nodejs. I’ll update this blog post or make another one if I come across any other problems running this VM.